 This is an Asana on the intermediate Yoga level. It requires prior stretching or warming up. Please don’t do this pose if you haven’t warmed up thoroughly before and don’t feel confident enough. For me this exercise took a lot of practice before I was able in the slightest sense to master it. Since this is one of my current personal achievements, I was keen on sharing this one with you.
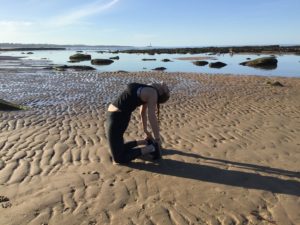
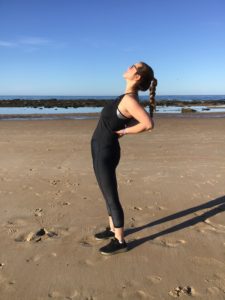
How to: When having thoroughly warmed up, get down on your knees and place one hand after the other on your feet. These are either upright for balance or if you are flexible enough they can lay completely on the floor. This makes the Asana more challenging. Lean your head backwards as much as it is comfortable for you. You might feel at the same time that you’re body pushes forward a little bit. It happens to me sometimes. Breath in firmly through the nose and out through the mouth. At the beginning, you might just be able to hold the pose for a breath or two. That’s completely normal. I, after having it done regularly for weeks now manage around 3 to 5 breaths. In this exercise your whole upper body, including hips and shoulders, will be activated. You might be feeling a slight tension on the front body.
Here it is important to listen to your body and not overdo the exercise since it consequently can cause severe damage. I have come across this exercise in my personal instructed sessions. So, no link this time.
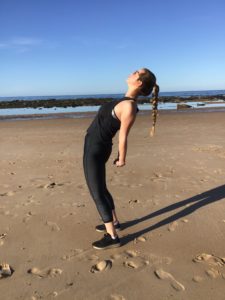
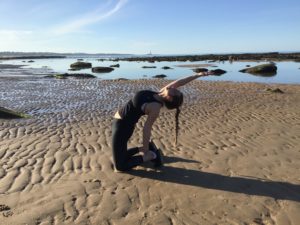 This is the first step to mastering (the following) full back bend. Please only do it when you have thoroughly warmed up since the muscles can be damaged severely when doing such bends with cold muscles.
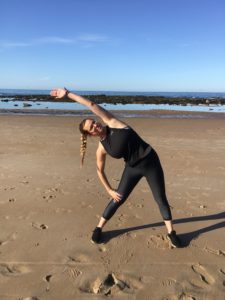
  In this Yoga pose you will stand with your feet a fair bit apart. Move down with one hand along the same sided leg and lift up the other arm to create a vertical line. Look up to the ceiling/ sky or whatever will await you looking upwards. Stay in this position for about 5-8 deep breaths (in through the nose and out through the mouth). If you concentrate on your breathing, you’ll find it easier to keep the balance, reach your foot and create the vertical line and there the Trikonasana.
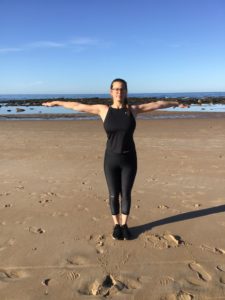 No. This is not the real name of this Yoga pose. I am actually not 100% sure how it is called since my resource rather describes it as well. I named it “Angel of the North“ due to its similarity to the statue located in Newcastle, one of my many homes around this globe. Anyway, let’s get to the posture.
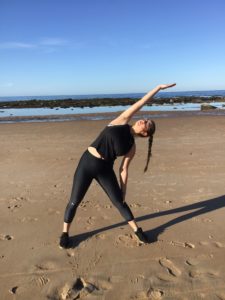
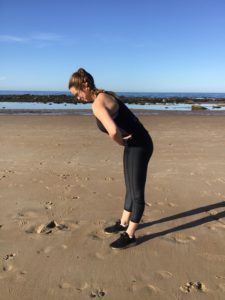
 This is an exercise I do in between every single lecture. It’s quick and easy but very good after having sat in the same position for a long time.